
Most home renovation checklists make the process sound simpler than it is. They condense months of planning, permitting, and sequencing into a tidy list, and that’s how homeowners end up over budget, behind schedule, or redoing work that should have been done later. If you’re looking for a thorough home renovation checklist North County San Diego residents can really use, it’s important to understand the process is more complex.
A major renovation is not a weekend project. It’s a process with distinct phases that build on one another. Decisions made early, often before any construction starts, determine whether the project runs smoothly or becomes stressful and expensive.
We’ve broken the process into four phases:
- Phase 1: Feasibility, Design, & Budgeting
- Phase 2: Pre-Construction & Permitting
- Phase 3: Active Construction
- Phase 4: Finishes & Closeout
This step-by-step home renovation checklist is designed for homeowners in North County San Diego planning whole-home, structural, or multi-room renovations. The goal isn’t inspiration. It’s clarity: what happens when, what matters most, and where mistakes usually occur.
Phase 1: Feasibility, Design, & Budgeting
The “Paper” Phase
This is the most important phase of the renovation, and the one homeowners most often underestimate. No walls come down yet, but the decisions made here control cost, timing, and scope for everything that follows.
Separate must-dos from must-haves
Start by defining what has to be addressed versus what would be nice to include.
- Must-dos: structural repairs, outdated electrical or plumbing, and layout issues that affect function or safety.
- Must-haves: aesthetic upgrades, finishes, and lifestyle improvements.
This distinction matters when costs shift, which they often do. Knowing what’s non-negotiable protects the project when tradeoffs are required.
Decide early whether you can live in the home
For whole-home or structural renovations, moving out is often the most practical option. Expect power or water outages, early start times, heavy dust, and limited access to key areas of the home.
Room-by-room renovations can sometimes be lived through, but homeowners should plan for:
- Noise starts early in the morning
- Dust traveling through vents and shared spaces
- Restricted access to kitchens, bathrooms, or bedrooms
This decision affects scheduling, cost, and stress. It’s far better to make it upfront than halfway through construction.
Set a real budget, then add a contingency
Renovation budgets should never be a single fixed number.
A realistic approach includes a defined working budget and an additional 10-20% contingency for unforeseen conditions
Older homes and coastal properties in North County frequently reveal issues once walls are opened, outdated wiring, hidden plumbing problems, or framing that no longer meets current code. A contingency keeps these discoveries from stalling the project.
Learn More: Whole House Renovation Cost
Lock the scope while changes are still inexpensive
Design changes during this phase are relatively easy to absorb. Changes made after construction begins trigger change orders, which affect:
- Cost
- Timeline
- Trade coordination
An early, clear scope definition reduces disruption later. This is where disciplined planning and experienced construction management add the most value.
Learn More: Home Remodeling Services
Phase 2: Pre-Construction & Permitting
The “Waiting” Phase
This phase doesn’t feel productive to homeowners because there’s little visible progress but it’s where timelines are protected or destroyed. Rushing or skipping steps here almost always leads to delays during construction.
Finalize site plans, engineering, and access
Before permits can be submitted or trades scheduled, the project needs accurate documentation. This typically includes site plans and floor plans, structural engineering (if walls are moving or loads are changing), and verification of access for dumpsters, equipment, and material deliveries.
Access planning is often overlooked. If heavy equipment can’t reach the site, or if staging areas aren’t clearly defined, work slows immediately once construction begins.
Submit permits early (earlier than you think)
Permitting is rarely fast, especially in North County San Diego. Cities and coastal jurisdictions often have long review cycles, and permit corrections are common.
Permit timelines are driven by city review, not contractor availability. Corrections or resubmittals are normal, not a failure. Construction schedules are built around permit approval, not wishful start dates.
Submitting complete, well-prepared applications early is one of the most effective ways to protect the overall timeline.
Lock in materials and finishes before construction starts
Many renovation delays happen because materials weren’t finalized early enough.
During pre-construction, homeowners should make final selections for tile and stone, plumbing fixtures, lighting, cabinetry, and hardware. Lead times vary, and specialty or coastal-rated materials can take longer to source.
Finalizing selections now prevents mid-project pauses when crews are ready but can’t proceed.
Account for coastal conditions upfront
Homes near the coast face different constraints than inland properties.
In North County coastal areas, material selection should account for salt air exposure, corrosion resistance, and long-term durability, not just appearance.
Failing to plan for these conditions can shorten the lifespan of finishes and systems, creating maintenance issues long after construction is complete.
Confirm contracts, scope, and responsibilities
Pre-construction is also when the project framework is formally set.
A clear contract should outline a defined scope of work, budget structure and allowances, timeline expectations, how changes are handled, and responsibility for permits and inspections.
Contracts aren’t just paperwork; they’re the tool that keeps expectations aligned once construction pressure starts.
Why phase 2 takes time and why that’s okay
It’s normal for weeks (or longer) to pass in this phase with no physical work on site. That doesn’t mean the project is stalled. It means the foundation is being set so construction can proceed without unnecessary stops.
Projects that feel “slow” here tend to move faster and cleaner once construction begins.
Phase 3: Active Construction
The “Messy” Phase
This is the phase most homeowners picture when they think about renovation but it only works smoothly if the earlier phases were done correctly. Once construction starts, sequencing matters, inspections control pace, and small missteps compound quickly.
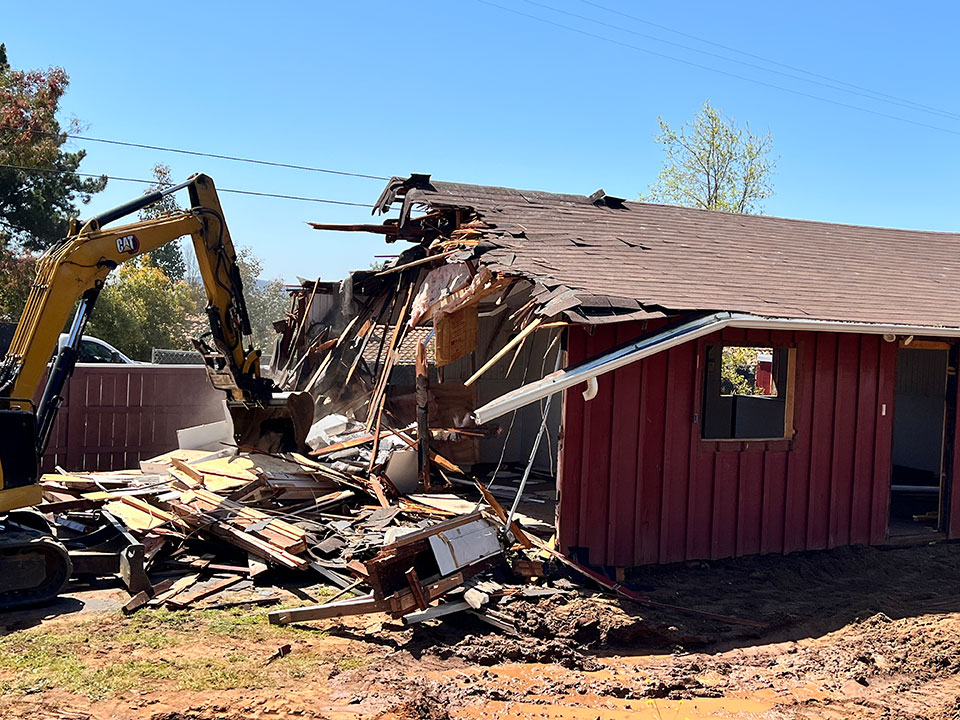
Demolition comes first, and it’s disruptive
Demolition is loud, dusty, and unavoidable. Walls are opened, old materials are removed, and underlying conditions are exposed. This is often when surprises appear, especially in older homes.
Even with good planning, demolition can reveal outdated wiring, plumbing issues, or framing that doesn’t meet current code. When that happens, timelines may pause briefly while solutions are approved. This is normal, not a failure.
Structural work sets the new framework
Once demolition is complete, structural changes begin. This can include moving walls, installing beams, adjusting ceiling heights, or reframing door and window openings.
Nothing else can move forward until the structure is correct. Rushing this step or working out of sequence creates downstream problems that are expensive to fix later.
Mechanical, electrical, and plumbing must happen before walls close
This is the most sequence-sensitive part of the entire renovation. All core systems must be installed and approved before insulation and drywall go up.
The correct order matters:
- Electrical, plumbing, and HVAC rough-ins
- City or third-party inspections
- Insulation
- Drywall installation
Skipping steps or working out of order leads to rework opening finished walls to fix something that should have been addressed earlier.
Inspections control the pace, not the crew
During active construction, work often pauses for inspections. This can feel frustrating to homeowners, but inspections are required to verify safety and code compliance.
Inspection timing is determined by the city’s availability, not the contractor’s speed. A well-managed project anticipates these pauses and sequences work accordingly.
Living in the home changes the experience
If the home is occupied during construction, expectations must be adjusted.
Homeowners should plan for early start times, daily noise, and dust that travels through vents and shared spaces. Many projects use a key lockbox so crews can access the site without disrupting the household each morning.
Living in a construction zone is possible, but it requires flexibility and clear communication.
What phase 3 demands most
Active construction requires preparation and patience. When earlier decisions are locked and permits are in place, this phase moves steadily. When they aren’t, delays show up quickly and publicly.
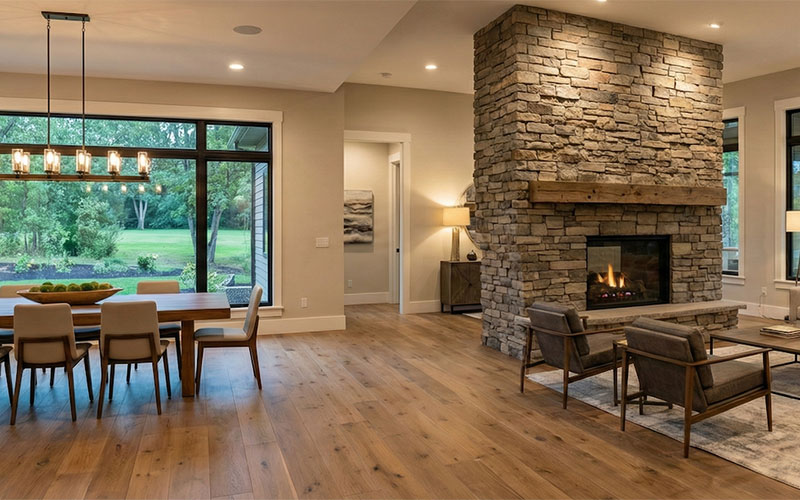
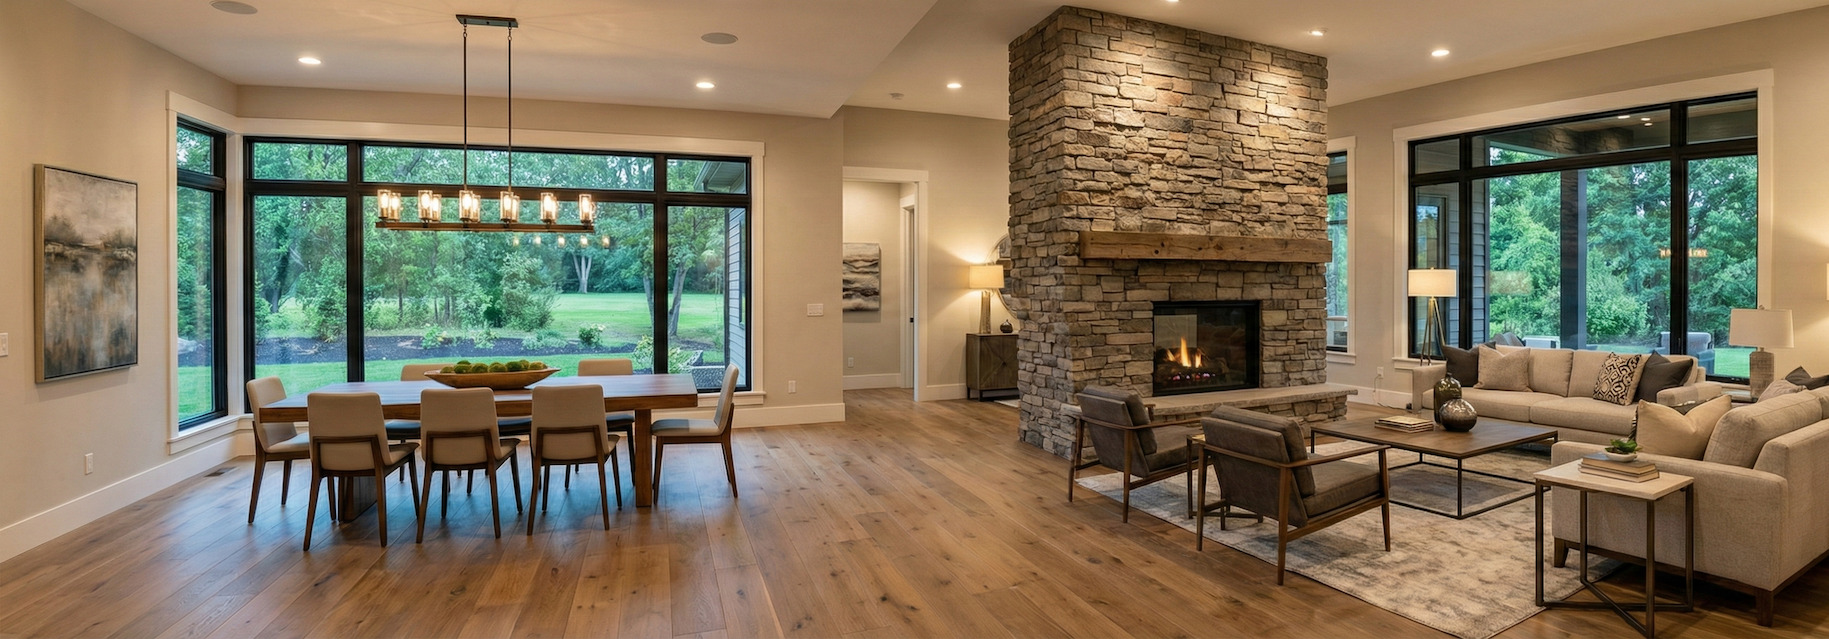
Phase 4: Finishes & Closeout
The “Detail” Phase
This phase looks calm compared to demolition and framing, but it’s where quality is either protected or slowly undermined. The work is quieter and more precise, which makes sequencing and attention to detail even more important.

Paint before anything that can be damaged
Painting should happen before flooring or finish carpentry is installed. Even careful crews can’t eliminate splatter entirely, and touch-ups after the fact rarely look as clean.
This is also the moment to evaluate color choices in real lighting. Once cabinets and floors are in, changes become far more disruptive.
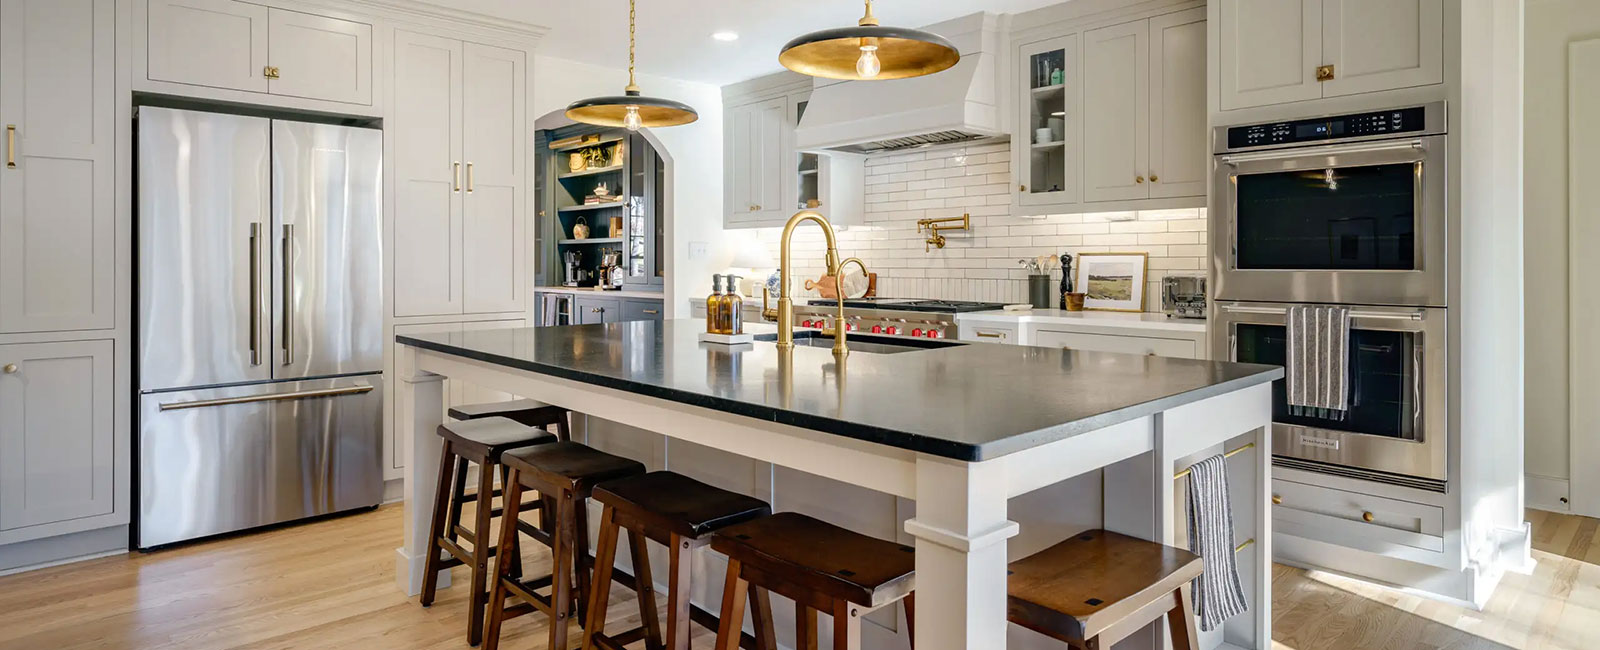
Cabinets and fixtures bring the space together
With walls finished and painted, hard goods are installed. This includes cabinetry, plumbing fixtures, lighting, and built-ins. These elements define how the space functions day to day, so alignment, spacing, and finish quality matter.
This is also when coordination becomes visible. Fixtures must align with plumbing and electrical rough-ins completed earlier. If earlier phases were rushed, problems tend to surface here.
Flooring comes last for a reason
Flooring should be installed near the end of the project to protect it from damage. Heavy foot traffic, ladders, tools, and material deliveries can scratch, dent, or stain finished floors.
Waiting until the end preserves the finish and avoids costly repairs before move-in.
Trim and finish carpentry provides the final polish
Baseboards, door casings, and other finish details give the home its sense of completeness. These elements highlight craftsmanship or expose shortcuts.
This is the phase where small inconsistencies become noticeable, which is why experienced oversight matters even when the work appears minor.
Closeout is a process, not a moment
Before final payment, the home should be walked through thoroughly with the contractor to create a punch list. This list captures minor adjustments, corrections, or incomplete items that need to be addressed before the project is formally closed.
Final thoughts on the renovation process
A successful renovation isn’t defined by how fast walls come down or finishes go in. It’s defined by how well the project was planned, sequenced, and managed from the start.
For homeowners in North County San Diego, especially those renovating older or coastal properties, respecting the full lifecycle from feasibility through closeout is the best way to protect both the investment and the experience.
Planning a renovation in North County San Diego?
Major renovations succeed or fail long before construction starts. Clear scope, realistic timelines, disciplined sequencing, and experienced oversight make the difference between a controlled process and constant surprises.
If you’re planning a whole home or complex renovation in North County San Diego, working with a general contractor who understands coastal conditions, permitting realities, and construction sequencing can protect both your budget and your timeline.
Upfront planning creates fewer decisions, fewer delays, and a better outcome.
Frequently asked questions
Should I move out during my renovation?
For whole-home or structural renovations, moving out is usually the most practical option. Power and water shutoffs, early start times, dust, and noise make daily life difficult during major work. Room-by-room renovations can sometimes be lived through, but homeowners should expect disruption and plan accordingly.
How long does a major renovation actually take?
While smaller projects may move quickly, whole home renovations typically take 3 to 6 months. The timeline depends on scope, permitting, inspections, material availability, and trade coordination. Permits and inspections often dictate pace more than construction labor.
How much contingency should I budget?
A contingency of 10–20% is standard for major renovations. Older homes and coastal properties frequently reveal hidden issues once work begins. A contingency allows the project to continue without halting for budget approvals whenever an unforeseen condition arises.
Can I do some of the work myself to save money?
Some cosmetic tasks, such as painting or minor demolition, can sometimes be handled by homeowners. Structural, electrical, plumbing, and mechanical work should always be performed by licensed professionals to meet code requirements and protect safety. Mixing DIY work into complex phases often creates delays rather than savings.
Why are site plans and permits necessary?
Site plans and permits aren’t paperwork for paperwork’s sake. They ensure the project meets zoning and safety requirements, coordinate trades, and allow inspectors to verify that work is completed correctly. Skipping or rushing this step almost always leads to delays later.
Why does the schedule change once construction starts?
Even with strong planning, construction involves variables outside anyone’s control, such as inspection availability, material lead times, and conditions uncovered during demolition. A well-managed project anticipates these realities and adjusts sequencing to minimize disruption.